Contents
Click on title to navigate to section
Step 1: Log into School Email
Step 2: Create Your Microsoft 365 Account
Step 3: Logging and Relogging into your 365 Account
Step 4: Download and Install Microsoft 365 Apps
Step 5: Opening Office Apps
Step 6: Receiving Emails on Windows 10 Mail App
Step 1: Log into School Email
1. Go to https://cuc.edu.tt/cuc/email and enter your school email and password.

2. Change password [optional].
From within your email, go to Settings >> Password and set a new password then click save.

Learn how to connect your school email to your Gmail. Click here
Step 2: Create Your Microsoft 365 Account
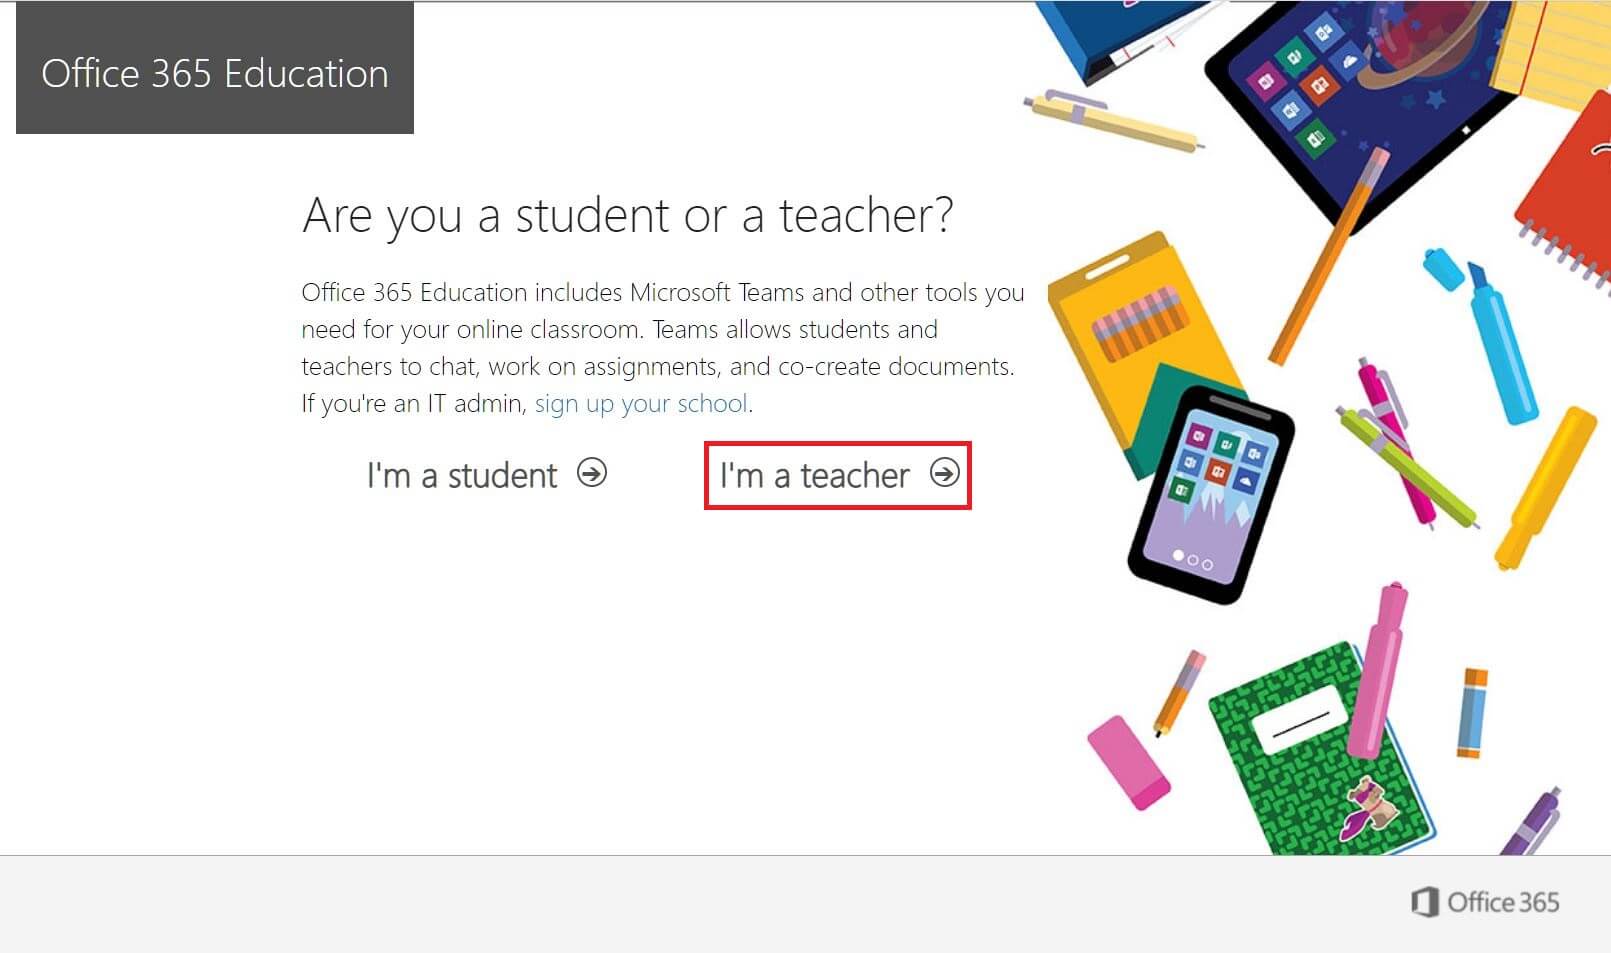
1. Go to https://www.microsoft.com/en-us/education/products/office and enter your School email in the text box.

2. Click on I’m a teacher.
3. Enter your personal details.
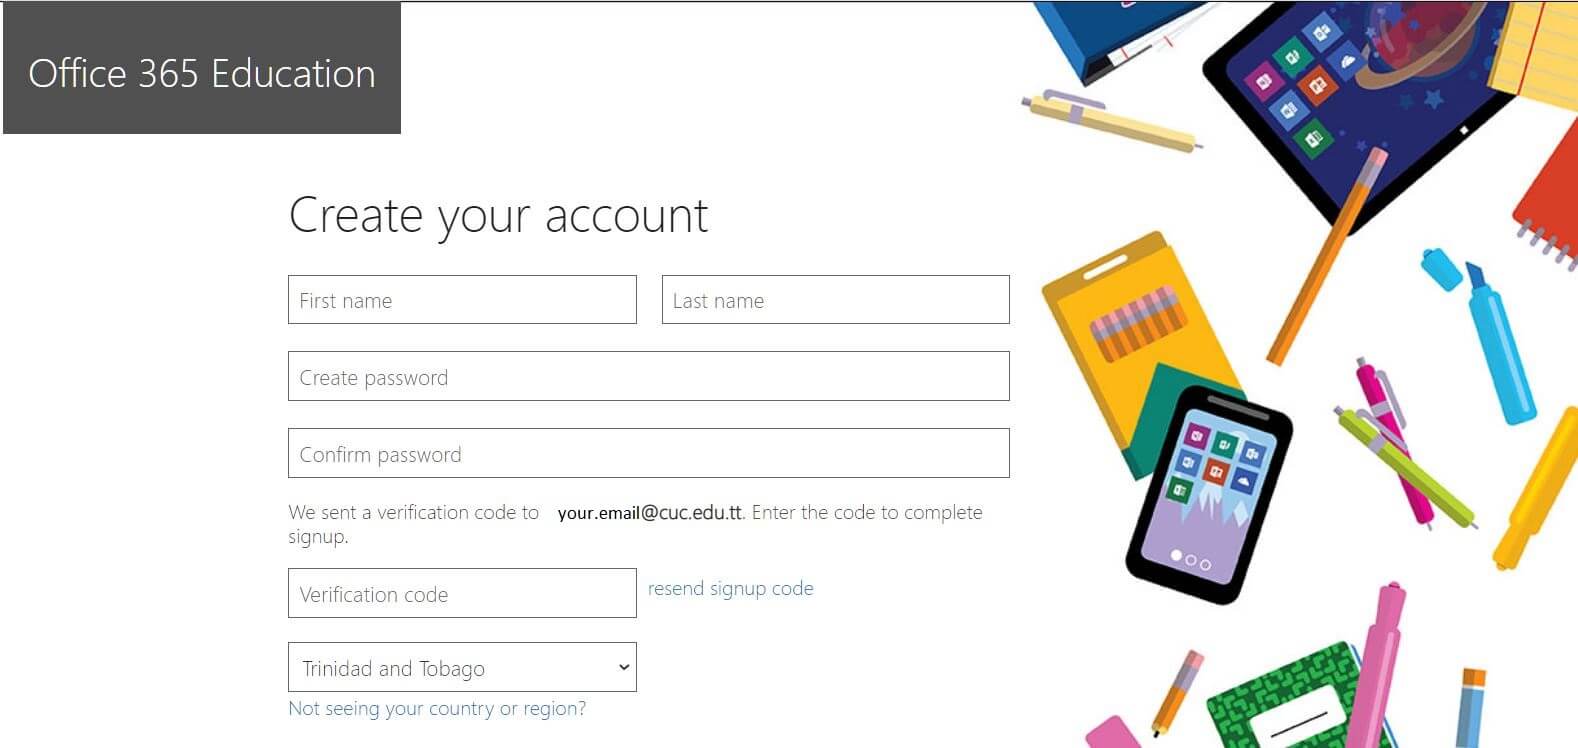
4. While keeping the above window open, go to your school email inbox and find the verification code that was sent.


5. Copy and paste the verification code from no 4 in the Verification Code text box.
6. Scroll down and click Start.
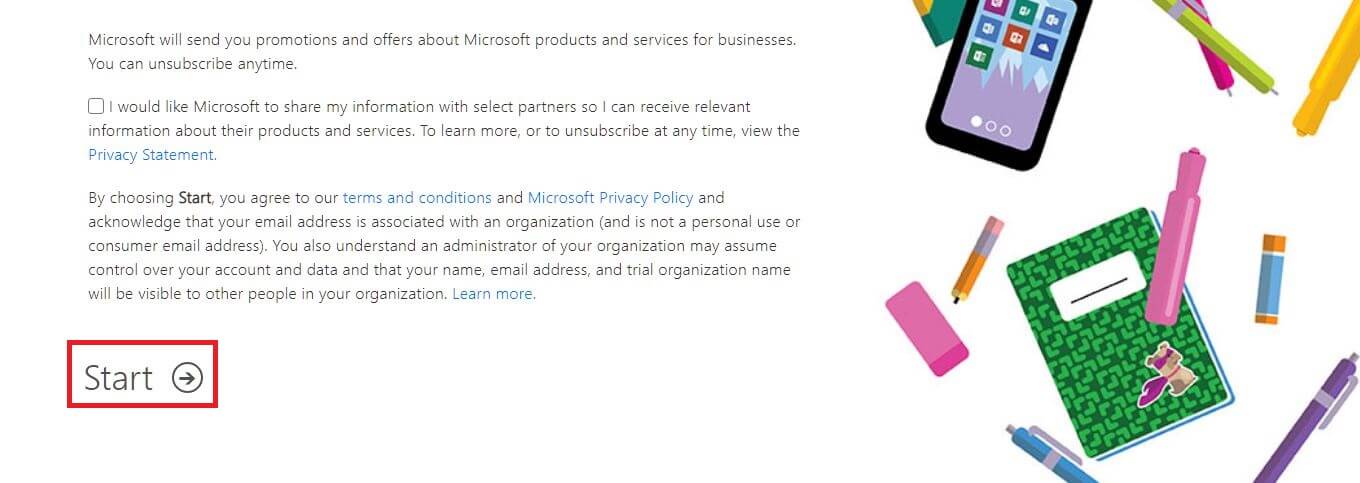
7. Wait for the creation of your account to complete.

8. Click the tick icon on the right to confirm sign in.

9. Once the process is complete you should be automatically redirected to your Microsoft 365 dashboard page.

If you are having any difficulty please do not hesitate to reach out for assistance. Contact Form or Whatsapp.
Step 3: Relogging into your 365 Account
1. To sign into your account, go to https://www.office.com and click on Sign in at the top right hand corner.

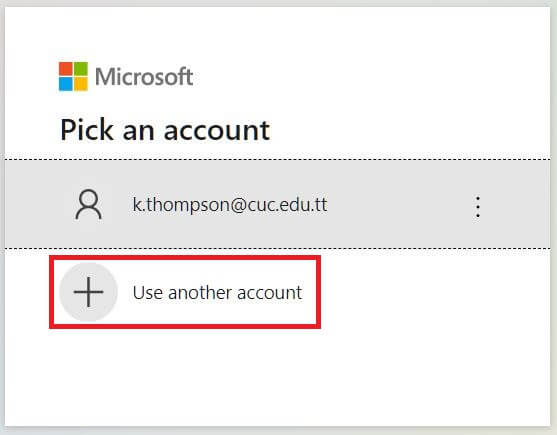
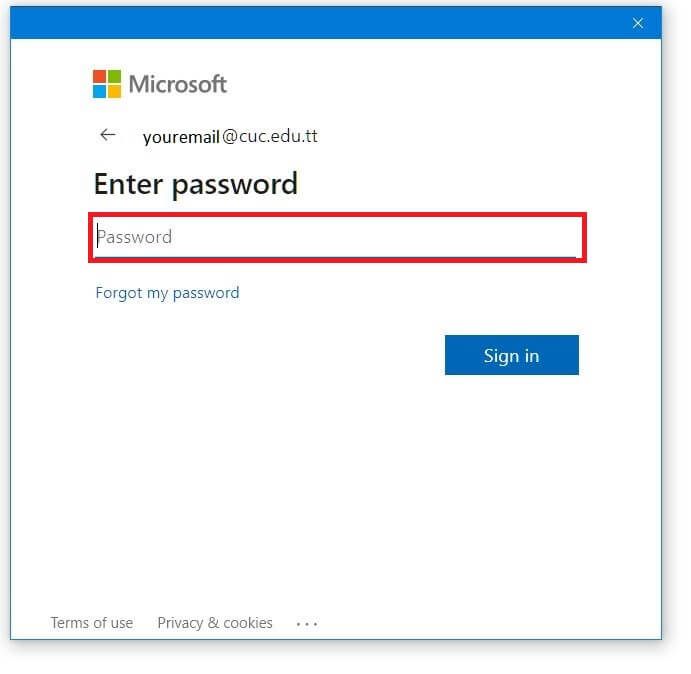
2. A similar window to the one below should pop up.
If the suggested email is yours, click it, otherwise select Use another account.
3. Enter your school email.

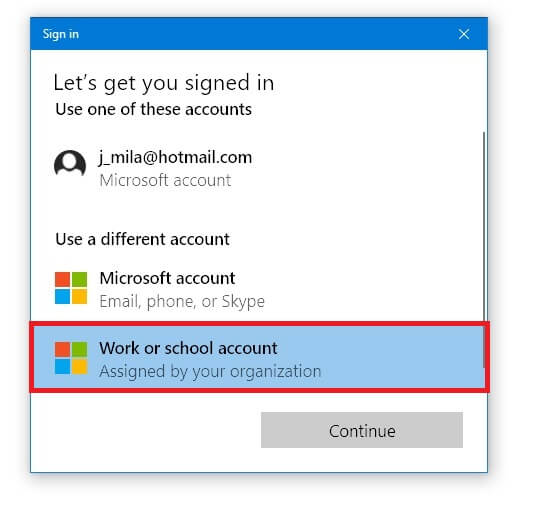
4. If the above window pops up, click Work or school account. [Important]

5. Enter the password you used when you created your account.
Once your login was successful, you should be redirected to your dashboard page.
Step 4: Download and Install Microsoft 365 Apps
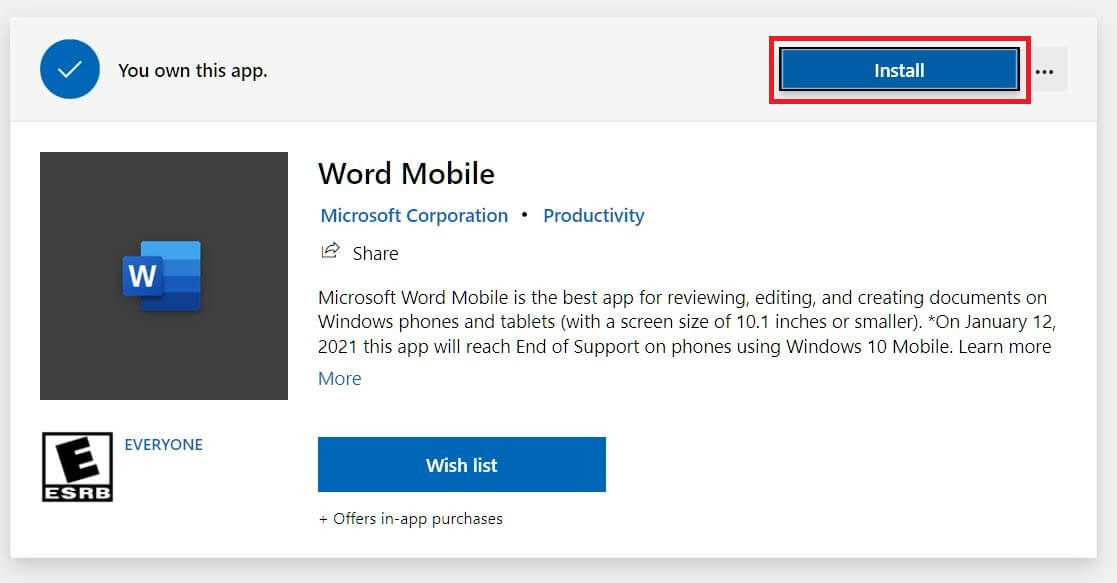
1. From within the dashboard click on Install Office.

2. Click Install Software.

3. Select your device’s OS. In this demonstration we’ll be installing on a Windows 10 PC.
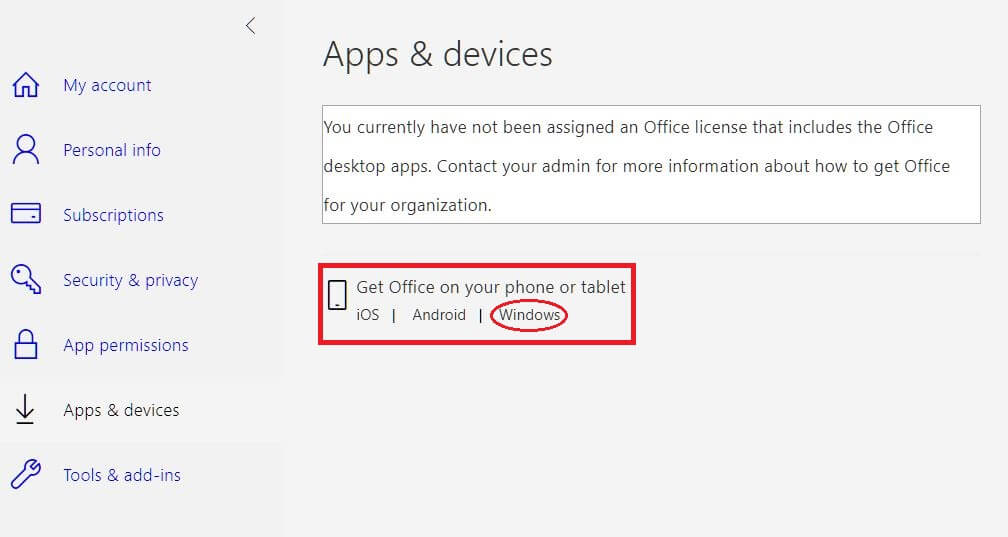
4. Scroll down and click Get the app for each app you want to install.

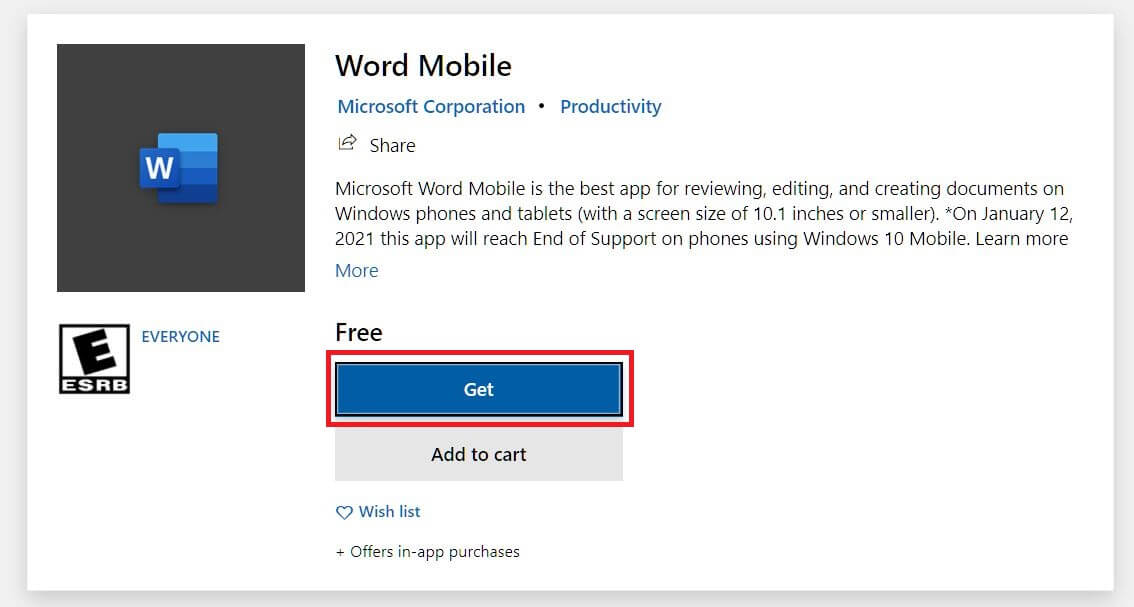
5. Click Get.

6. Click Open Microsoft Store. [If applicable]

7. Click Get once again.
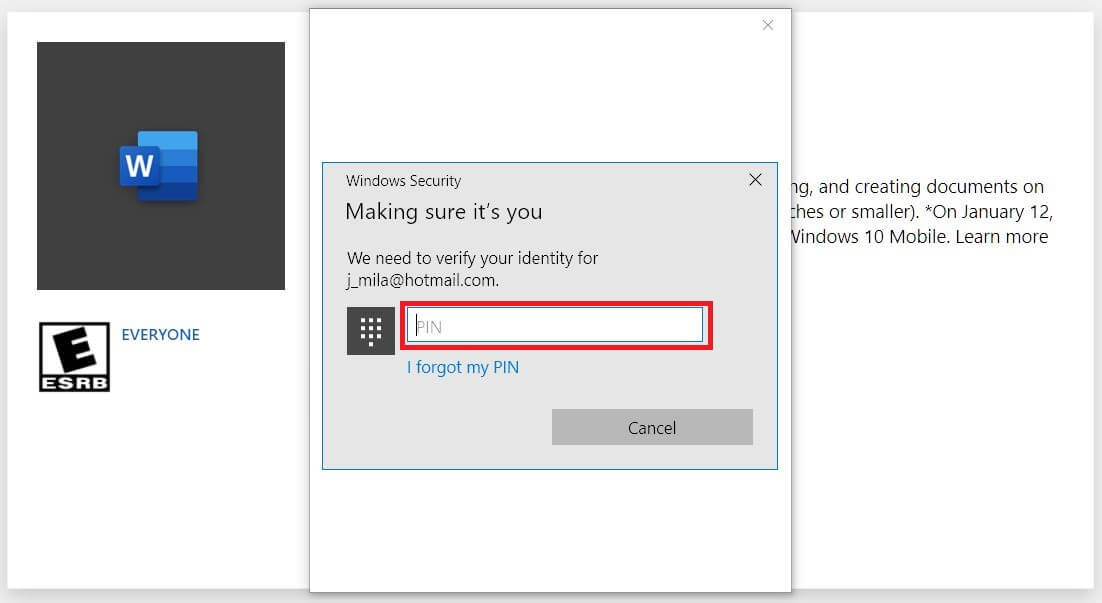
8. If your device is signed in with a Microsoft account, you may be asked to enter your hotmail/msn/outlook/live account password to continue.

9. Confirm installation by entering your device’s security pin [if applicable].
10. Click Install.
11. Click Launch.

12. To sign in select Work or school account.
13. Enter the password you created for your Microsoft 365 online account in step 2 no. 3.
14. Step complete.

Repeat the process for the other available apps at no. 4.
If you are having any difficulty please do not hesitate to reach out for assistance. Contact Form or Whatsapp
Step 5: Opening Office Apps
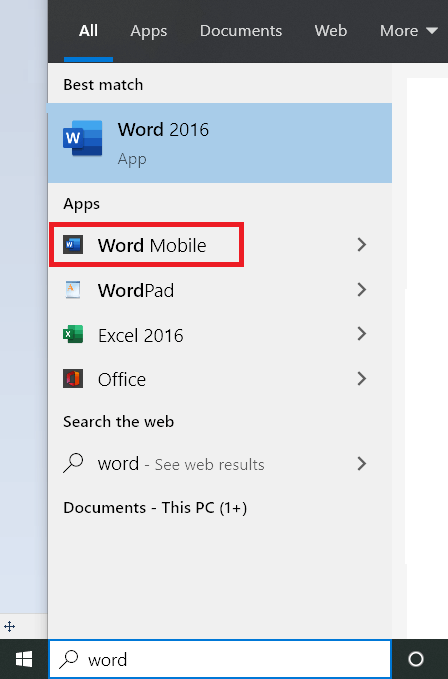
1. Once your app is installed, click on the start button and type the name of the application.
Depending on your device, you may see two shortcuts for the office application.
Click on the one with the extension “Mobile” at the end to launch the 365 app.
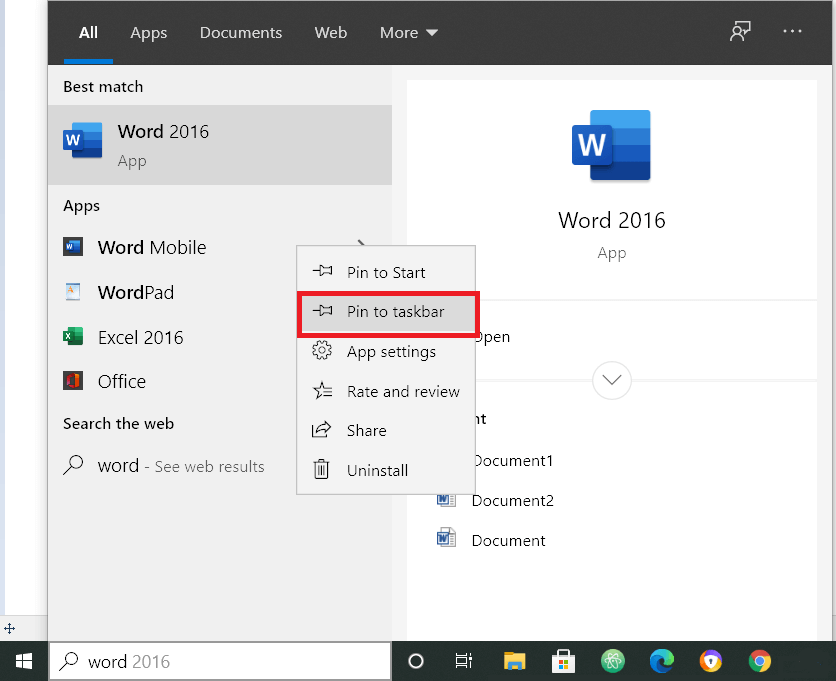
2. To add a shortcut to the taskbar for quicker access, right click on Word Mobile and select Pin to taskbar. [optional]
Repeat process for all other apps.
![]()
3. After you launch the required app, if prompted to sign in, remember to follow the procedure as shown from Step 4 no.12.
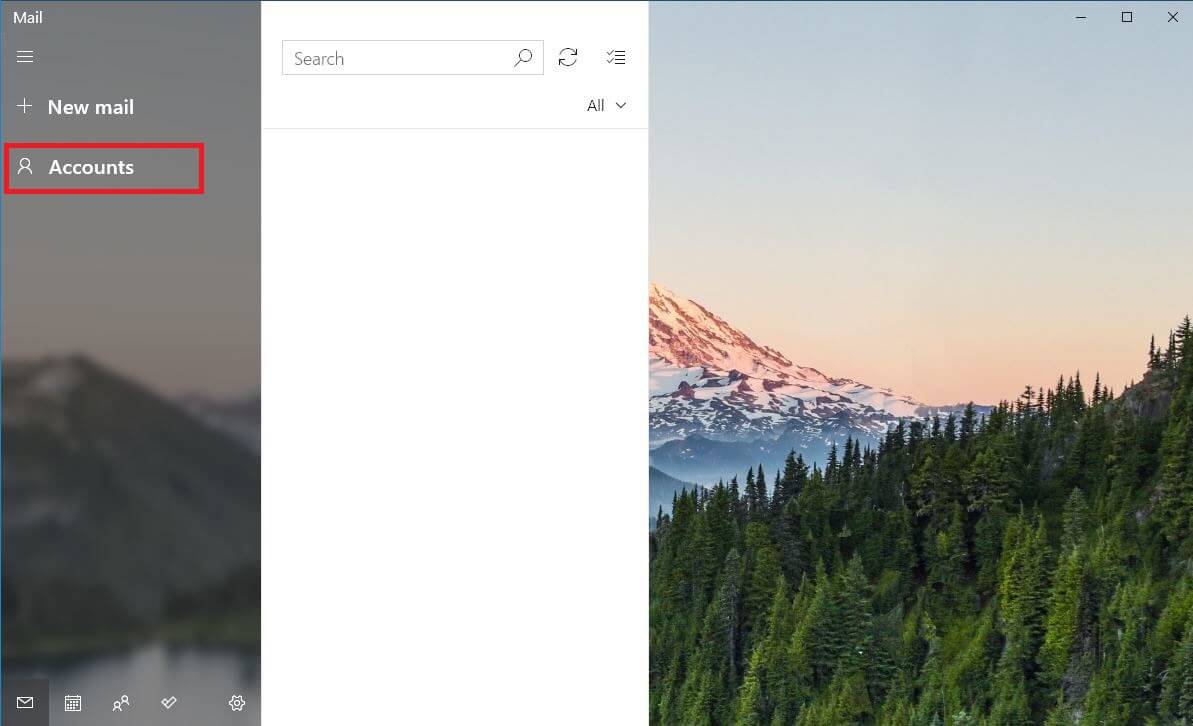
Step 6: Receiving Emails on Windows 10 Mail App
1. Open Mail App and click on Accounts.

2. Click on Accounts.
2. Click on Add Account.

3. Select Advanced setup.

4. Click on Internet email

5. Enter your information then click sign in.
- User name: Your school email
- Password: You school email password
- Account Name: this can be anything you want eg CUC Work Email
- Enter your name.
- Incoming email server: mail.supremecluster.com
- Account type: IMAP4
- Outgoing email server: mail.supremecluster.com

6. Click done and the setup should be complete.

Last Updated 11/01/2020